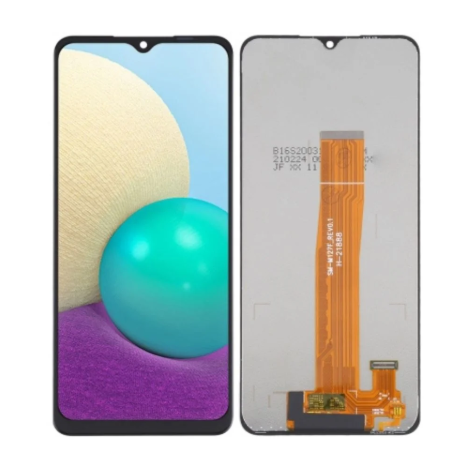


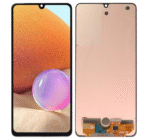


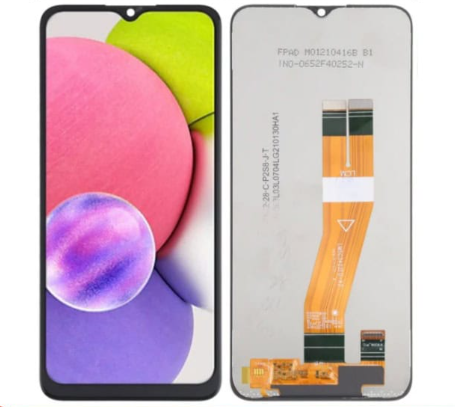
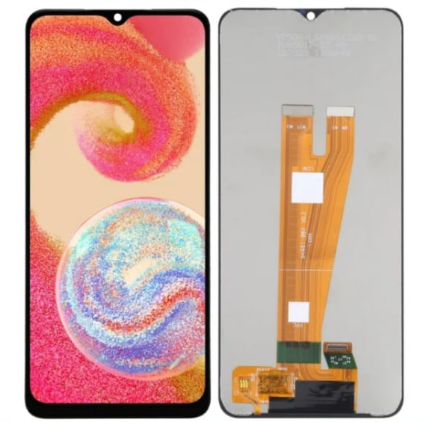
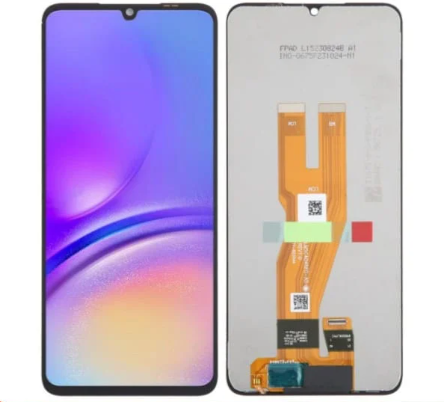
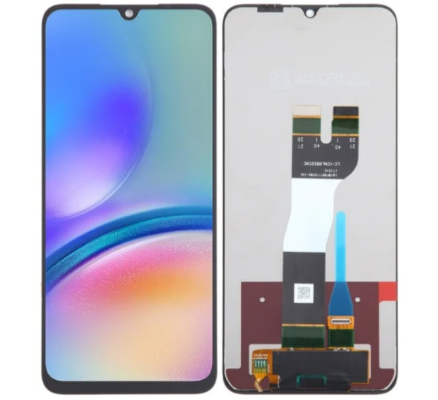
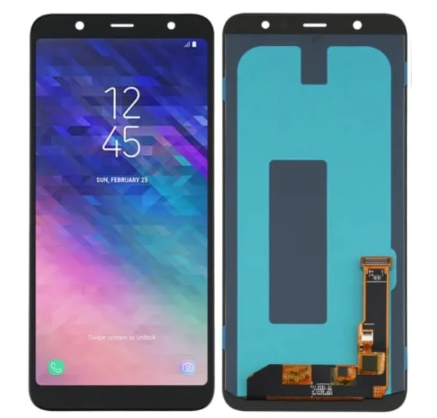
Is your Samsung Galaxy A32 5G LCD Panel unit damaged, cracked, or completely blank? Struggling to find a reliable screen replacement for your device? No need to stress! We’ve got you covered with premium-grade LCD panel units delivered straight to your doorstep.
Things to keep in mind before buying Samsung Galaxy A32 5G LCD Panel
Follow these essential tips to ensure a smooth purchase and replacement process for your Samsung Galaxy A32 5G LCD Panel unit:
- Verify Your Device Model: Always double-check your mobile model number before ordering to ensure you get the correct LCD panel unit for a perfect fit.
- Seek Professional Installation: Replacing an LCD screen is complex. If you’re not experienced in repairs, visit a professional repair shop to avoid damaging your device.
- Record Unboxing and Testing: When opening and testing new screen, record a one-clip, uninterrupted video. This is crucial for a hassle-free warranty claim if needed.
How to Pick the Perfect Display for Your Phone
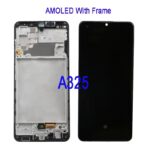
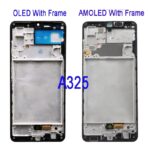
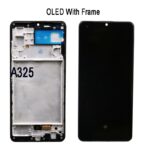
Choosing the right display for your mobile phone doesn’t have to feel like a tech puzzle! From the deep contrasts of AMOLED and Super AMOLED, to the sharp clarity of OLED, the cutting-edge brilliance of Micro LED, or the reliable affordability of IPS/LCD—each technology brings its own charm.
Most modern smartphones come with factory-fitted AMOLED or OLED screens, while budget-friendly models often use IPS/LCD panels. Important tip: If your phone originally came with an LED display and an on-screen fingerprint sensor, replacing it with an IPS/LCD panel may disable that feature.
With us, finding the right match is simple! Just choose your phone’s display type, material, and quality from our easy-to-use dropdown menu at checkout. We stock 100% original displays for the perfect fit, as well as premium third-party options for older or budget devices. Prices vary depending on display type and quality—so you get the ideal screen at the perfect price.
Step-by-step Screen Replacement (Samsung Galaxy A32 5G)
Replacing an LCD can be tricky, but with the right tools and care you can do it yourself or know exactly what a technician will do. Follow these steps for a safe, clean replacement.
What you’ll need
-
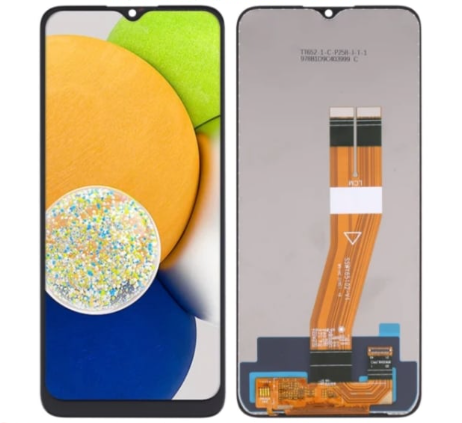
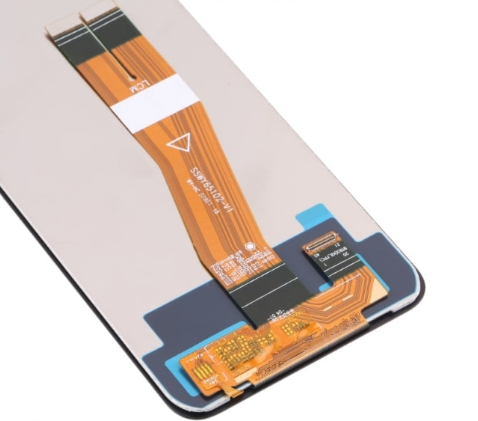
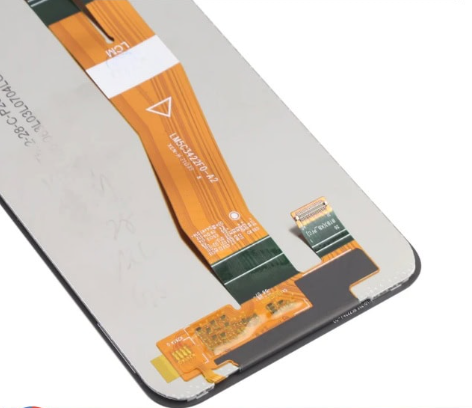
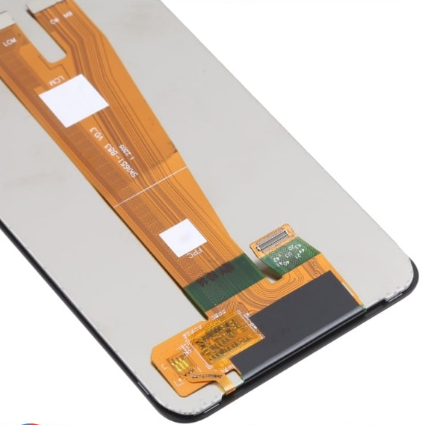
Replacement Samsung Galaxy A32 5G LCD panel (complete unit with digitizer & touch)
-
Heat source (hair dryer or heat gun)
-
Suction cup, plastic pry tools, thin blade/shaving blade
-
Phillips & mechanic screwdrivers
-
Isopropyl alcohol and lint-free cloth
-
Tweezers, adhesive strips (or pre-cut adhesive), and protective gloves (optional)
Step-by-step
-
Power off & remove SIM — Turn the phone off and eject the SIM tray.
-
Soften adhesive & remove back cover — Warm the back cover edges (hair dryer/heat gun) and gently pry open with plastic tools. Remove any screws securing the frame.
-
Disconnect battery — Open the midframe if present and disconnect the battery connector first for safety.
-
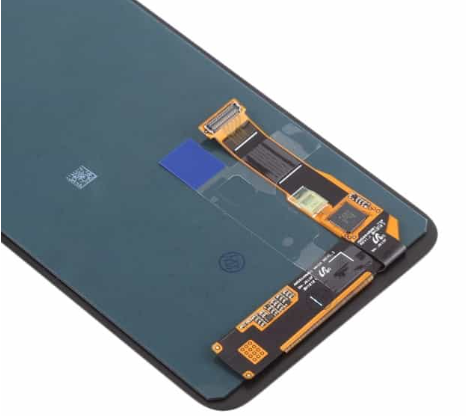
Disconnect screen cables — Carefully unplug screen/digitizer flex cables from the motherboard.
-
Remove the old screen — Heat the front edges to soften adhesive. Use a suction cup and plastic picks to lift and separate the display. Work slowly—if it’s an LED with on-screen fingerprint, take extra care around the fingerprint area. A tiny drop of isopropyl at a corner can help release adhesive.
-
Clean the frame — Remove old adhesive and residue; wipe the frame with isopropyl alcohol and a lint-free cloth. Ensure the frame is completely dry and dust-free.
-
Transfer small parts — Move any small components (earpiece mesh, sensors, brackets) to the new screen if required.
-
Test before sealing — Temporarily connect the new screen and battery, power on, and test display, touch, cameras, sensors, and the fingerprint reader (if applicable). Only seal once everything works.
-
Install & secure — Apply new adhesive, align the screen precisely, press to seat it, reconnect all cables, reassemble screws and back cover.
-
Final test — Power on and run a full check: touch, display uniformity, proximity/light sensors, camera, and fingerprint (if supported).
Key tips
-
Test the new display before applying final adhesive or closing the phone.
-
If the original screen had an in-screen fingerprint sensor, third-party IPS/LCD replacements may not support it.
-
DIY may void warranty — check with your seller/manufacturer first.
-
If unsure, professional repair avoids accidental board or battery damage.
Quick troubleshooting
-
No display after install: recheck flex cable seating and battery connection.
-
Touch not responding: reseat digitizer cable and ensure connector pins are clean.
-
Dead phone after reassembly: verify battery connector/board screws and flexes.
Why Choose Quickcell Solutions
We make replacing your phone’s display simple, reliable, and worry-free. Choose from 100% original Samsung panels for a perfect factory fit, or premium A++ third-party options for older or budget devices. Each screen is quality-tested at the factory, securely packaged for safe shipping, and backed by friendly after-sales support.
Why customers choose Quickcell Solutions:
-
Top-notch imports sourced from trusted global suppliers.
-
One-by-one hardware testing to ensure reliable performance.
-
Secure, custom packaging for safe transit.
-
A++ quality at budget-friendly prices.
Reviews
There are no reviews yet.